You can now quickly move items from one sport to another. Using the new Move Item functions on web and mobile can save a significant amount of time as it is no longer necessary to manually create Remove and Receive transactions respectively.
Video:
Move Item - Web
Article:
How to Move Items from the Web App
There are 2 ways to move items on the web: From the Inventory List directly, and secondly from the Item Transaction History.
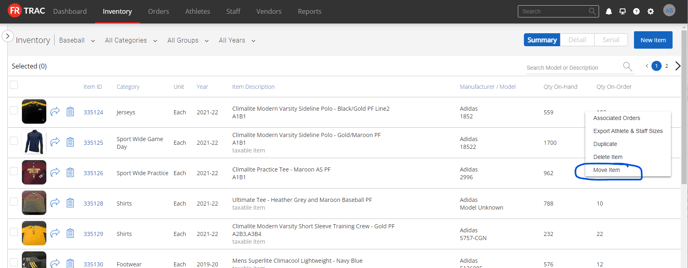
From the Inventory section --> Find the item you want to move and from the 3 dot menu, select "Move Item":
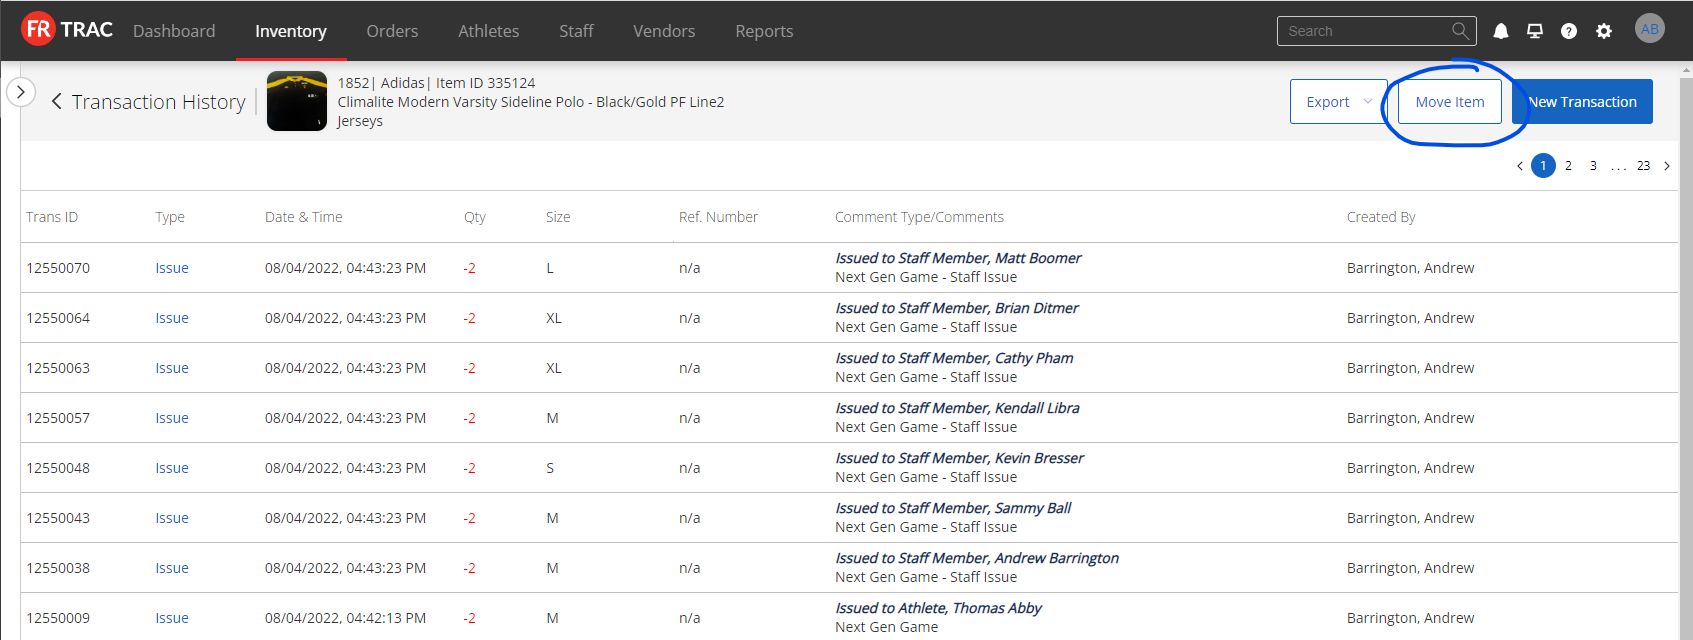
From the Transaction History for a specific item --> Select the "Move Item" button
From the Move Item popup, select the Destination Sport to continue:

Select a Size Chart and Category if necessary, select the Sizes you want to move and the quantity.
A couple of extra tips:
-By default, the quantity selected matches your current on-hand inventory for the item. Make sure to change it if you're just looking to move a few items.
-You can select 0 of the quantity to move if you want to simply create the item selected in your Destination Sport.
Select "Move" to complete the move!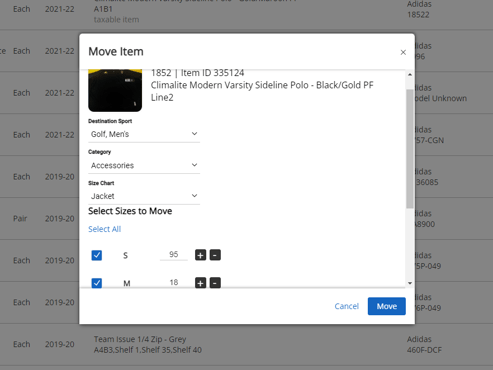
How to Move Items from the Mobile App
NOTE: You must have Administrator privileges on the mobile app in order to move items. More information can be found here on how to enable admin privileges on the mobile app.
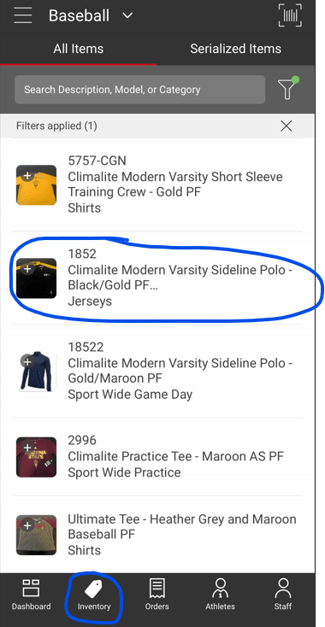
From the Inventory Tab, find the item you want to move, and tap that item:
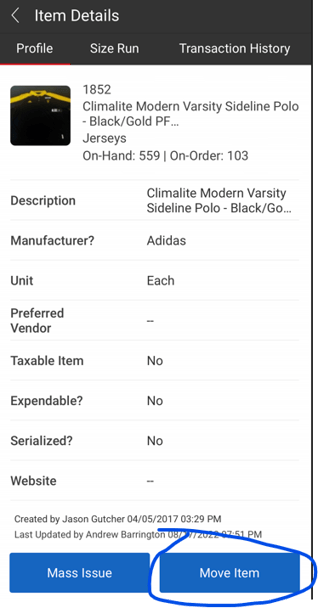
From the Item Profile, scroll down and select "Move Item":
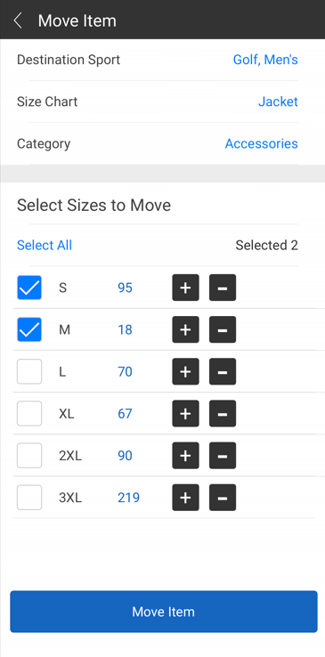
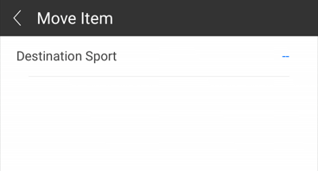
Select the Destination Sport to continue:
Select a Size Chart and Category if necessary, select the Sizes you want to move and the quantity.
A couple of extra tips:
-By default, the quantity selected matches your current on-hand inventory for the item. Make sure to change it if you're just looking to move a few items.
-You can select 0 of the quantity to move if you want to simply create the item selected in your Destination Sport.
Select "Move Item" to complete the move!