Manage Athlete Stickers
Stickers allow you to visually “tag” players and have those symbols appear next to the player on their profile and on their board cards! It’s really easy to set up, here’s how to get started:
1. You’ll want to decide on the stickers you want to use. You can create simple letters, numbers, or use icons - they just have to be saved as a png or jpg file. For example, if you google “Injured Icons” you will see this icon (to the right) you can save to your computer and use it in the next step. Just so you know, it’s better to use images that are the same width and height - they will look better in the system.
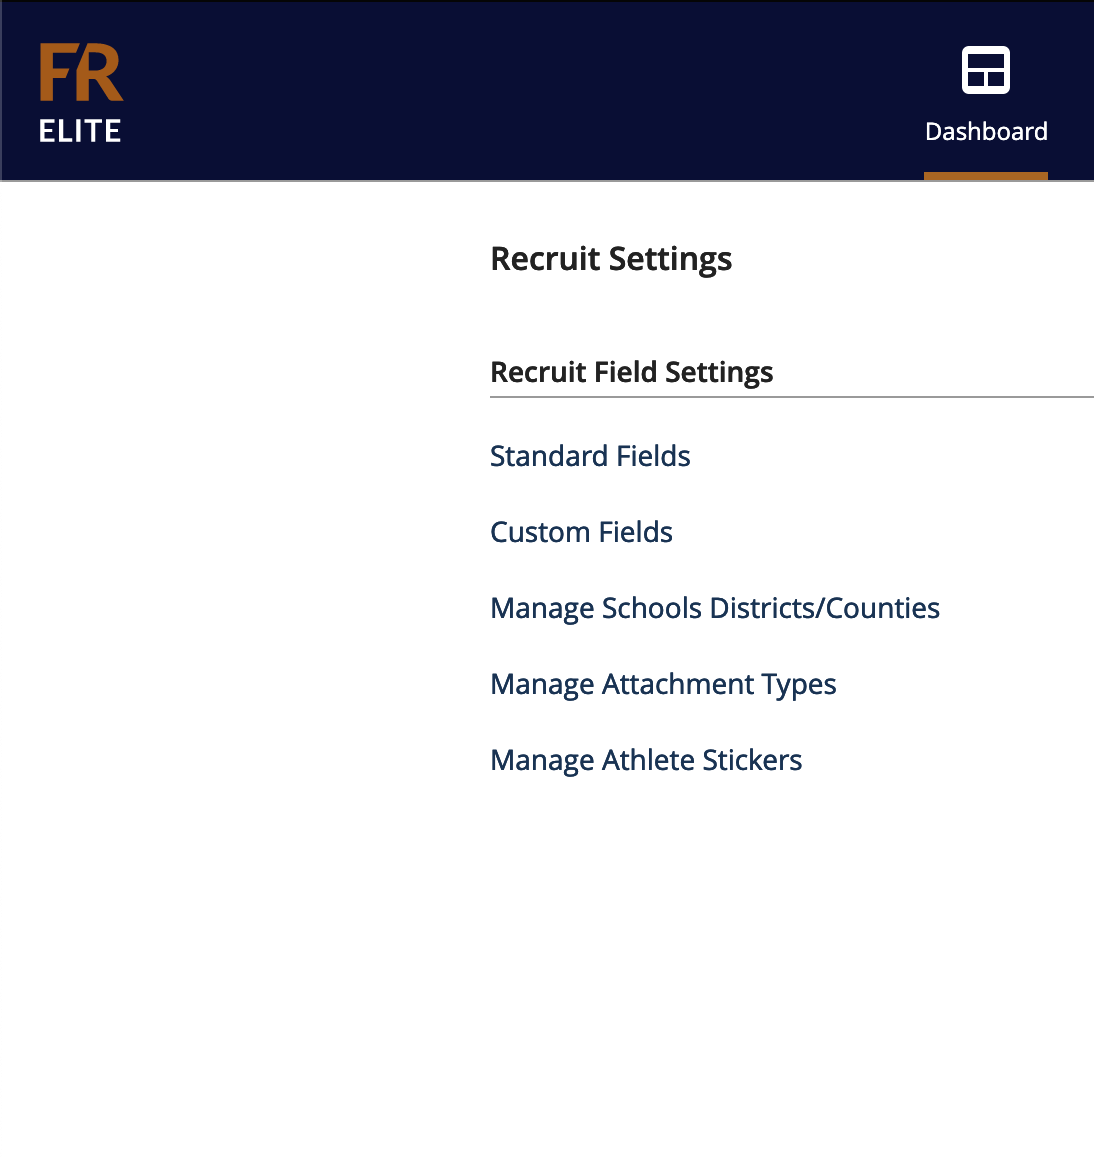
2. When you have your icons (png or jpg) ready to upload, select Settings in the far upper-right of the web application, in the title bar. In the drop-down menu, choose Recruit Settings. That will open up the following screen of various things you can manage. Choose Manage Athlete Stickers
3. You will be brought to the screen below. On this screen, you can add stickers, remove them, rename them, change the sort order, and select the images to use for each.
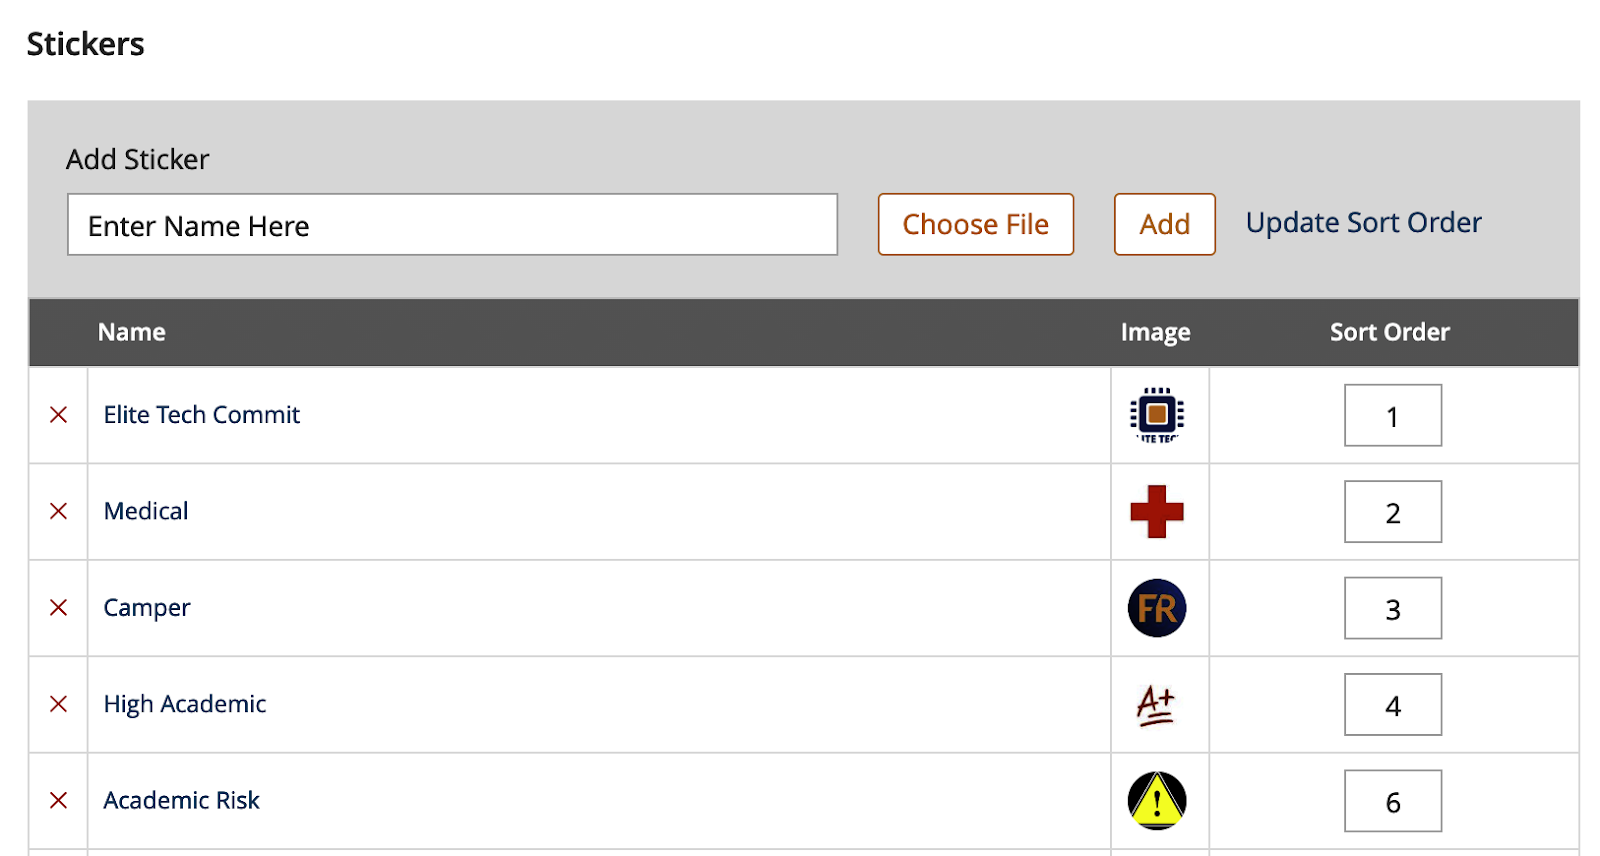
To add a sticker, type a name in the box for the sticker name. Press choose file and pick the image to upload for the sticker. When done, press the Add button and the sticker will be added to the list below.
To update a sticker, click the name of the sticker in the list and its name will pop into the box at the top. When this happens the Add button will be renamed Update. Edit the name of the sticker and press update.
To delete a sticker, just press the red X next to the sticker in the list. NOTE: You cannot delete a sticker you have used on a player.
To change sort order, number the stickers in the order you want them to appear using the boxes in the Sort Order column. When you are happy with the order, press the Update Sort Order link on top of the list.
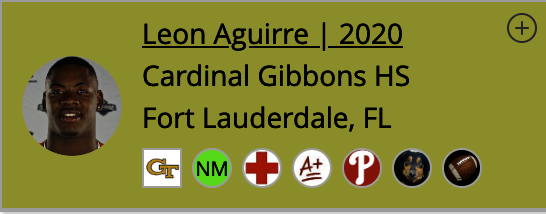
4. Now that you have added the sticker(s) you want to use, you can start tagging players with them. Go to a player profile page for one of your players. You will see the header has changed to look like the following:

First, notice the Georgia Tech sticker. That is because the Committed University field is set to Georgia Tech. This sticker will not show unless that dropdown has a value selected.
Next, notice the NM sticker. This is the initials of the coach on staff that is recruiting the player.
Next to that is a medical cross that has been added to the player.
To add a sticker to the player, press the + sign to the right of the stickers. It will give you a dropdown of stickers you can add. Select one and it’s added. Note: you do not add/edit the university Logo or Coach Stickers here. Those show automatically based on the settings for the player.
To remove a sticker, hover your mouse over it and a little red X will appear in the corner of the sticker. Press the X and the sticker is removed. Again, this is not how you remove committed school or assigned recruiter sticker.
5. As you use the recruit boards, you will also notice that the stickers will show up here as well!.
6. Additional Notes
Why do my stickers have a white square background on the board (like the Georgia Tech logo above)? Files that are formatted as .png files will work best and not show a background. We do not have .png logos of all universities so some of them will show with the white background.
I do not see the University where the player committed in the “Committed University” list. You will need to choose (Other) in the committed to dropdown. It will show a (…) icon for the school. If you have a smaller school not on the list that you compete with in recruiting, you can always make your own custom sticker for them as shown in this document and use independently of the committed university field.
Do I share stickers? With your team, yes. Stickers are saved at the team level. So another sport at your school will not see/use your stickers. But other coaches on your staff will use the same ones.
What about searching on stickers? On the phone app? The same principle applies on the ELITE App as well! Selecting the plus button at the top of the profile will allow you to assign a sticker to a recruit.
