Creating New Custom Fields
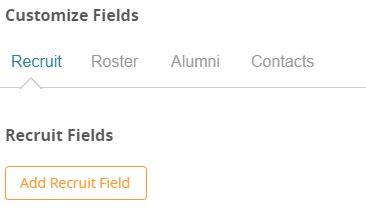
Click the Add Field Button.

- Decide which Section you want the field in.
- Give the field a name. (Limit 50 characters)
- Select the type of field you want. More info on field types below.
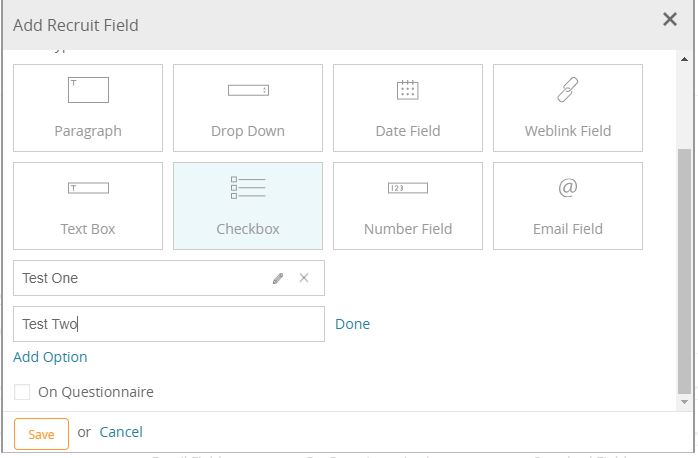
- If you would like this field to appear on the tab’s questionnaire, check the “On Questionnaire” box.
- You can make it mandatory on the questionnaire by selecting the “Required” button

- You can make it mandatory on the questionnaire by selecting the “Required” button
- Select “Save”
Field Types
Tables can't be imported directly. Please insert an image of your table which can be found here.
Name Description Sample Text Box Paragraph Drop Down Checkbox Date Field Number Field Weblink Field Email FieldAdding Options to Drop down and Checkbox Fields
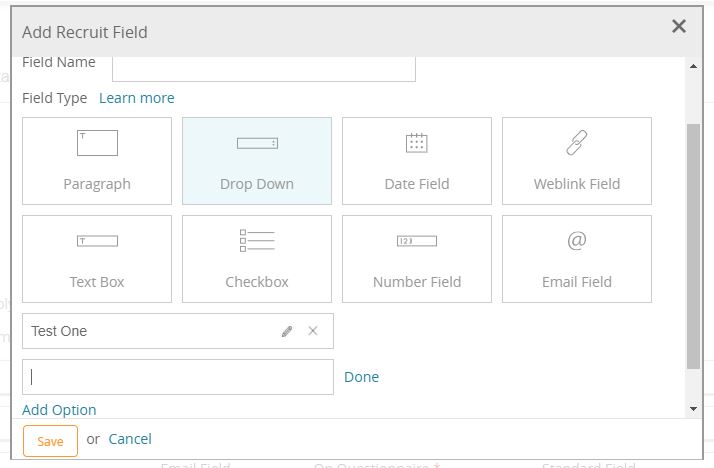
When selecting the Drop Down or Checkbox field type, a blank box will appear under the Field Type area.
This is where you enter the options that you would like for those fields.

Reminder: Drop down field type allows for a single selection, while Checkbox allows for multiple options to be selected.

Once you have entered the option, select “Done” to save. Use the “Add Option” button to add more options.
Be sure to select “Done” on each option before clicking Save at the bottom of the Field Creation box.
